
Lite Installation
Introduction
The NEPI Docker Lite Setup tutorial walks you through installing, configuring, and running the NEPI software inside a Docker container while making minimal changes to the host operating system. This tutorial focuses on setting up the required NEPI users, configuring the Docker environment, initializing NEPI storage and images, and launching the NEPI container and Resident User Interface for the first time.
The Lite setup is designed for fast evaluation, development, and a demonstration trial on edge devices before running the NEPI Full Container Installation. It allows users to explore NEPI's AI, automation, and hardware integration capabilities without NEPI managing system-level services such as networking, SSH, or storage sharing. This makes it ideal for learning, prototyping, classroom use, and early-stage testing before committing a device to a production configuration.
Prerequisites:
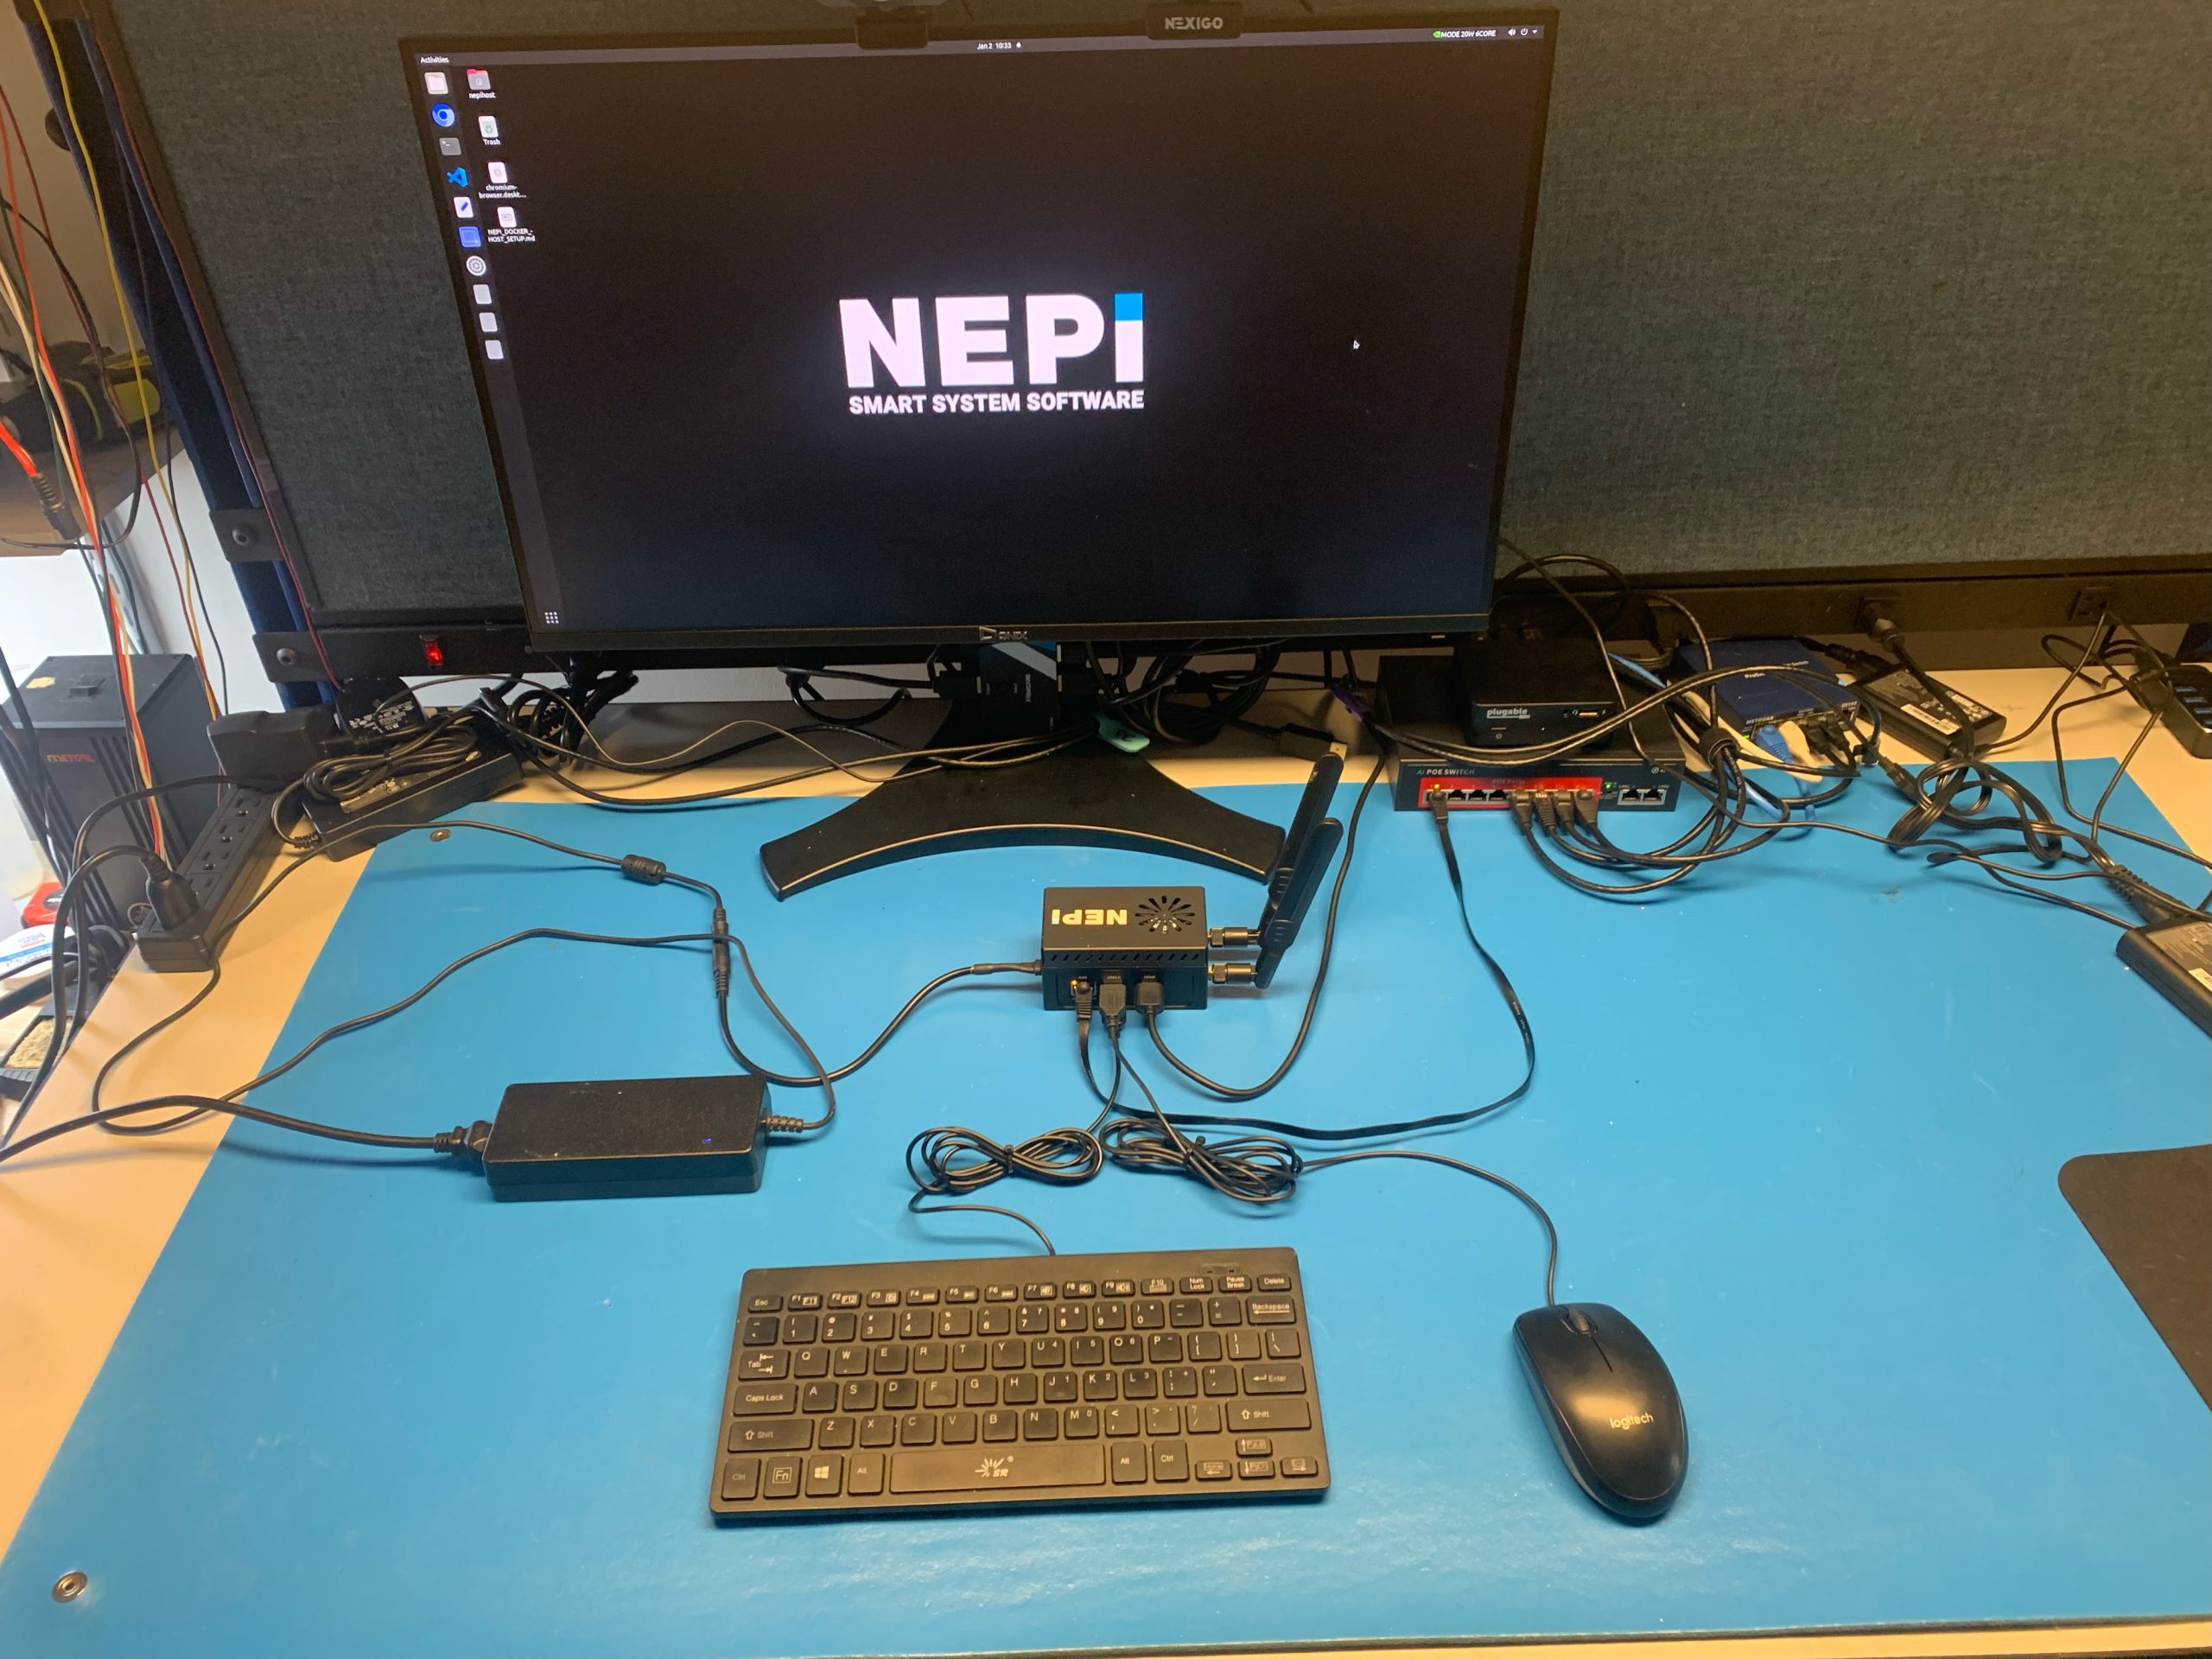
Before you begin, make sure you have the following ready. This Lite setup is designed to be quick and makes minimal changes to the system.
Hardware
- NEPI-compatible device (NVIDIA Jetson)
- Monitor, keyboard, and mouse connected to the device
- Internet connection (Ethernet recommended, WiFi also works)
Operating System
- Debian-based Linux
- Tested with Ubuntu 20.04
- Default Jetson Linux images are supported
User Access and Permissions
- Admin (sudo) access on the device
- Ability to reboot the device when prompted
Time Required
30-45 minutes. This includes user and environment setup, Docker Lite configuration, and image download and first launch.
NEPI Docker Lite User Setup
This section creates the nepihost user account and prepares your device to install NEPI Docker by cloning the NEPI setup repository that contains the required installation scripts.
1) Log into a user account with Administrator privileges, or use the existing nepihost account if available.
2) Open a Terminal window: right-click the desktop / Open in Terminal
3) Confirm your system has internet access by running the following command:
ping -c 1 google.com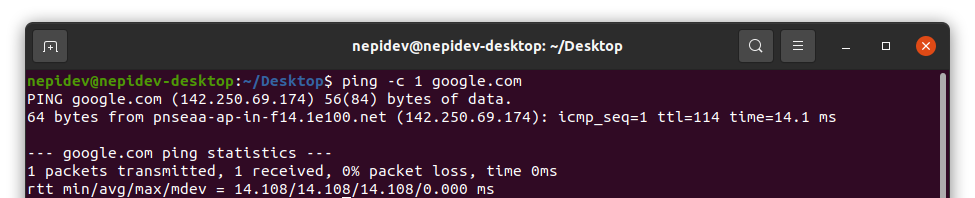
4) Update Git application:
sudo apt update && sudo apt install -y git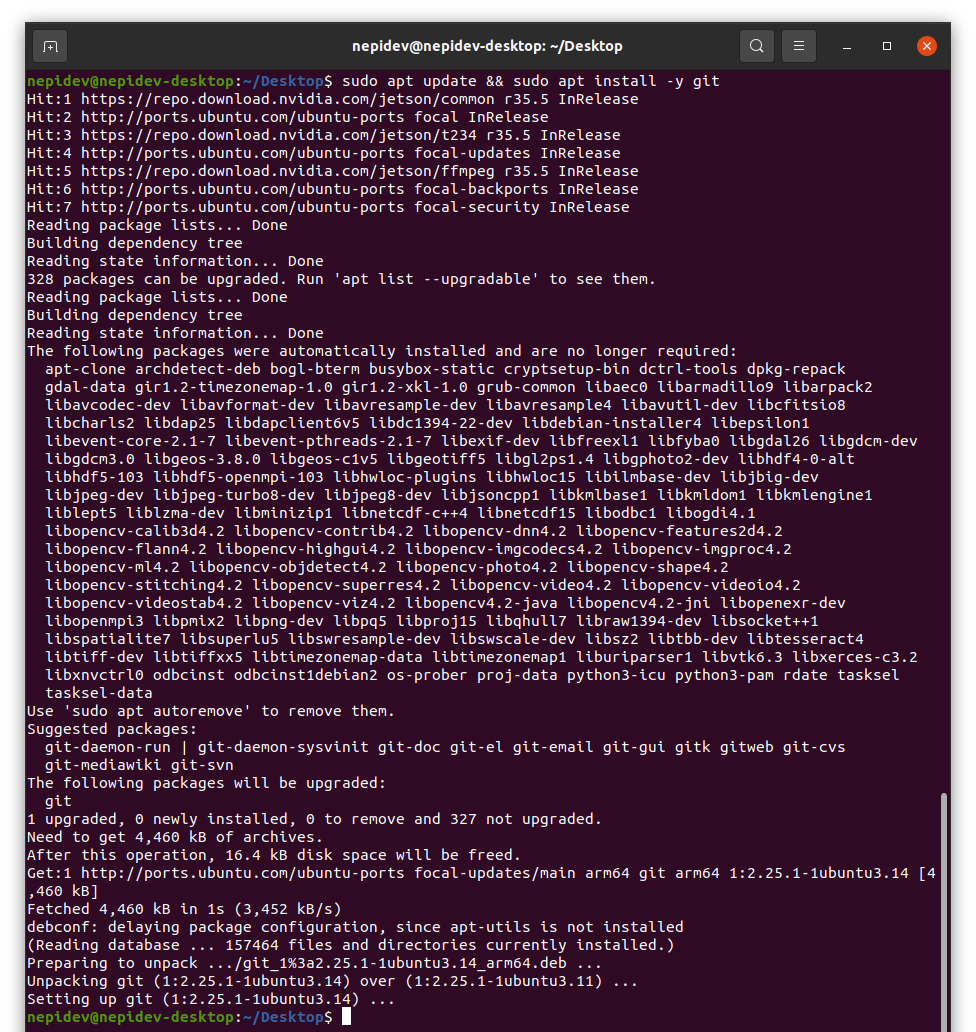
5) Clone the NEPI setup repository:
cd /home/${USER}
git clone https://github.com/nepi-engine/nepi_setup.git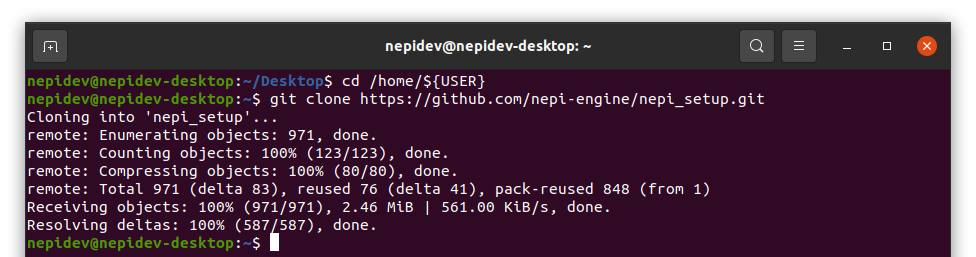
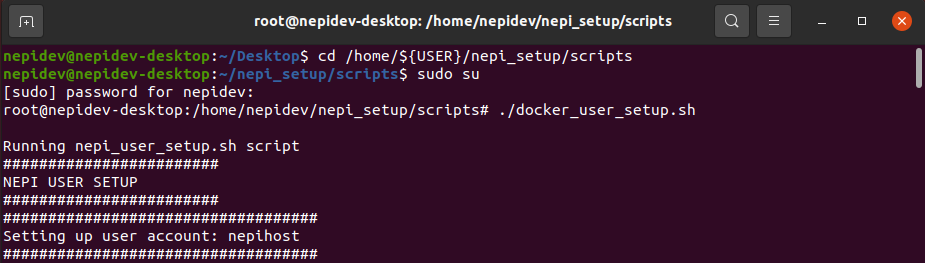
6) Run the NEPI Docker user setup script (sudo password is '#Nsetup4You'):
cd /home/${USER}/nepi_setup/scripts
sudo suThen:
./docker_user_setup.shStart Screen:
End Screen:
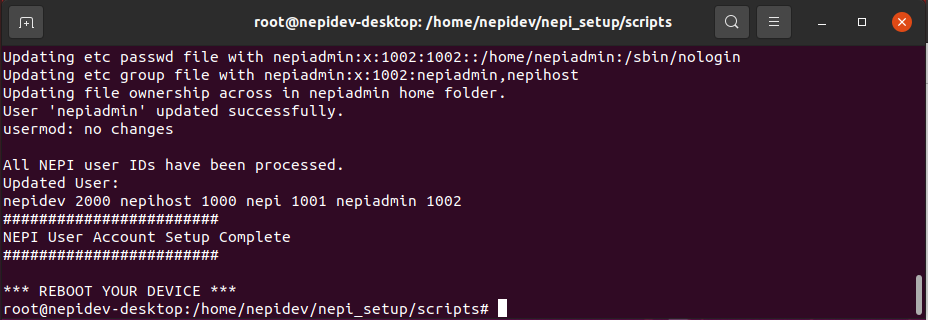
7) POWER CYCLE your system when complete to apply the new settings.
NEPI Docker Lite Environment Setup
This section will set up the NEPI Docker required software environment.
1) Log into the nepihost account created in Docker User Setup. Go through any new user starter popups, then open a terminal.
2) Make sure your system has internet access by running the following command:
ping -c 1 google.com3) Clone the NEPI Setup repo:
cd /home/${USER}
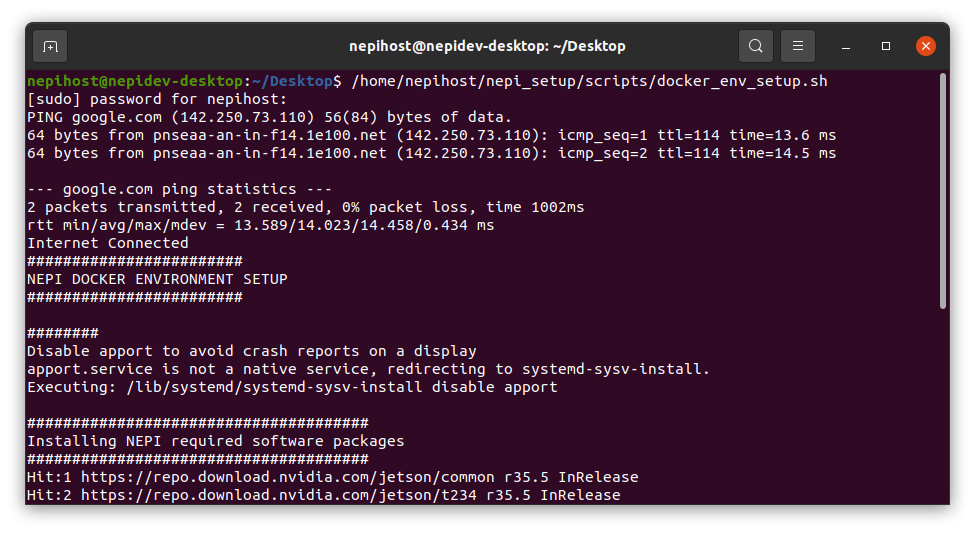
git clone https://github.com/nepi-engine/nepi_setup.git4) Run the NEPI Docker Lite Environment setup script (sudo password is 'nepi'):
source ~/nepi_setup/scripts/docker_lite_env_setup.shStart Screen:
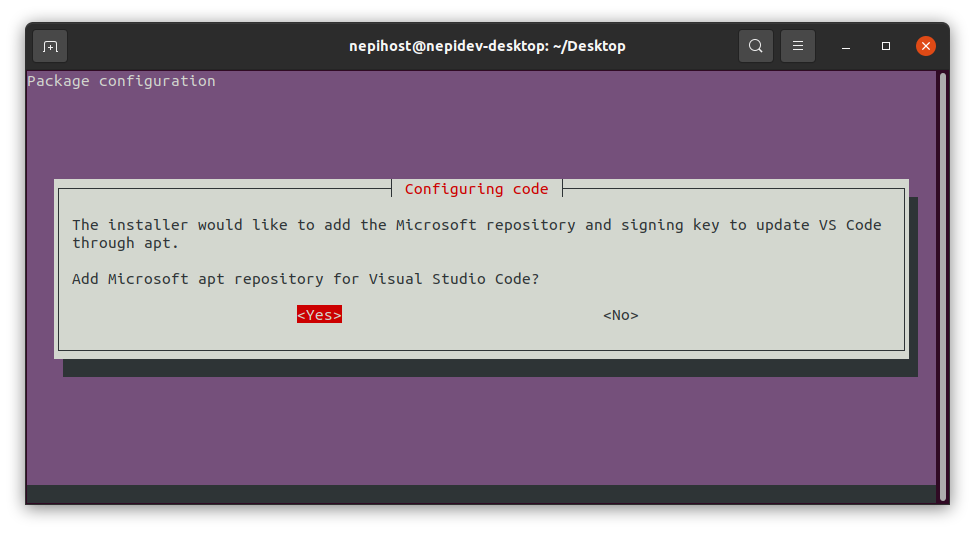
End Screen:
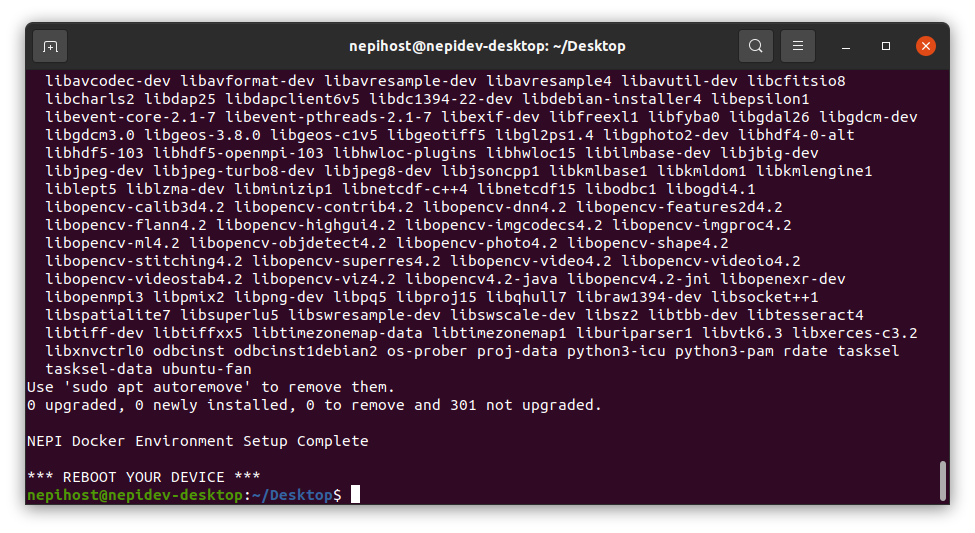
5) Once the script completes, scroll through the terminal output and verify there are no errors.
6) POWER CYCLE your system when complete.
NEPI Docker Config Setup
This section will configure the NEPI Docker configuration using the default settings. You can change settings later in the 'NEPI Docker Customization' section.
1) Log into the nepihost account (sudo password is 'nepi').
2) Run the NEPI Docker Lite Configuration setup script (sudo password is 'nepi'):
source ~/nepi_setup/scripts/docker_lite_config_setup.shStart Screen:
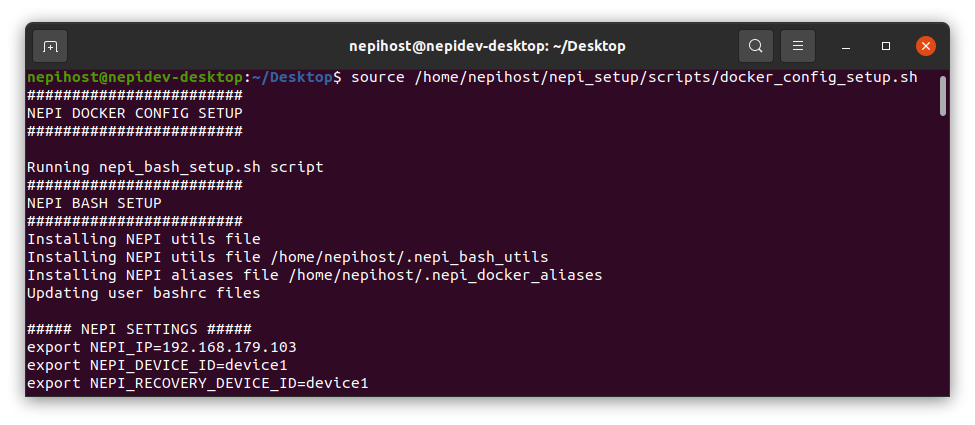
End Screen:
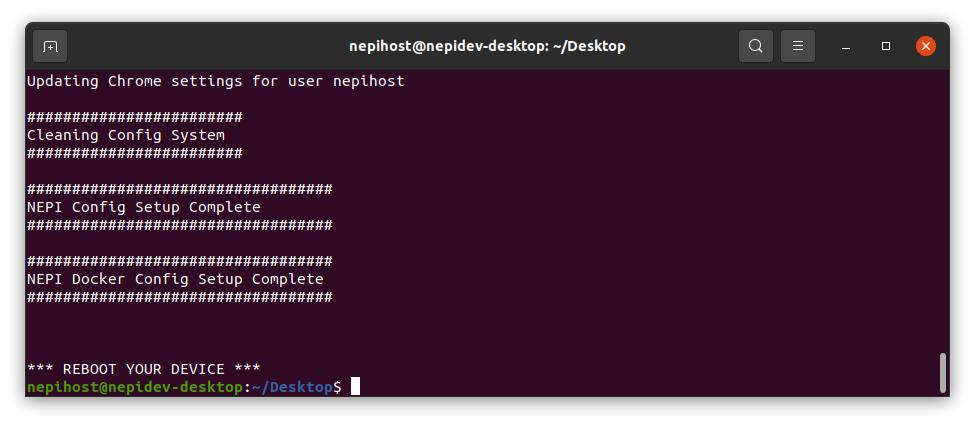
3) POWER CYCLE your system when complete.
NEPI Docker Lite Init Setup
This section will initialize and test your NEPI Docker solution. You can change settings later in the 'NEPI Docker Customization' section.
1) Log into the nepihost account (sudo password is 'nepi').
2) Check for internet connection:
ping -c 1 google.com3) Run the Docker Lite Initialization script (sudo password is 'nepi'). If prompted, enter 'y' or 'yes':
source ~/nepi_setup/scripts/docker_lite_init_setup.sh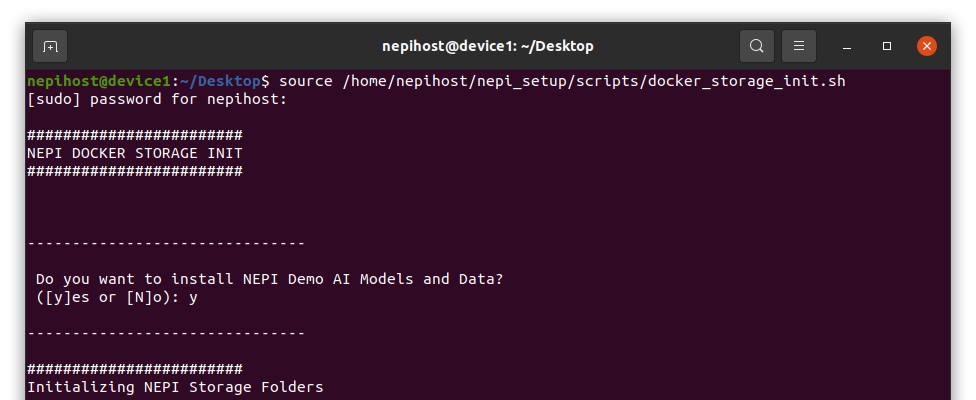
4) Run the NEPI Docker Import command:
nepiimport5) After the initialization script completes, you can view and print the installed NEPI Docker Images by typing:
dimgNEPI Docker Image Testing
This section verifies that the NEPI Docker container runs successfully and that the NEPI Resident User Interface (RUI) launches correctly.
1) Start your NEPI container running:
nepistart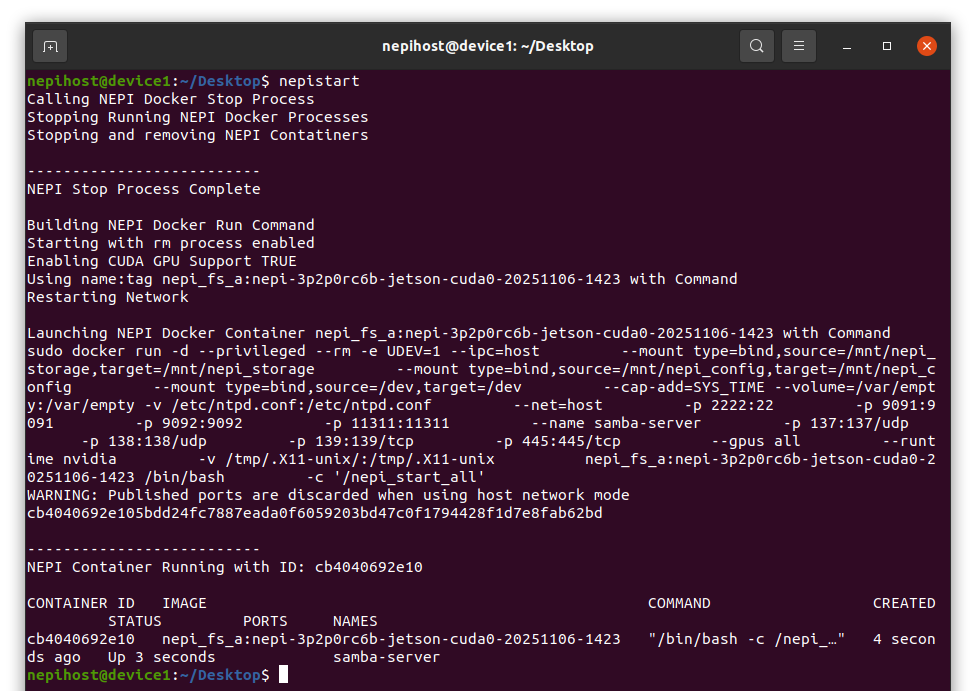
2) Wait for the startup confirmation message.
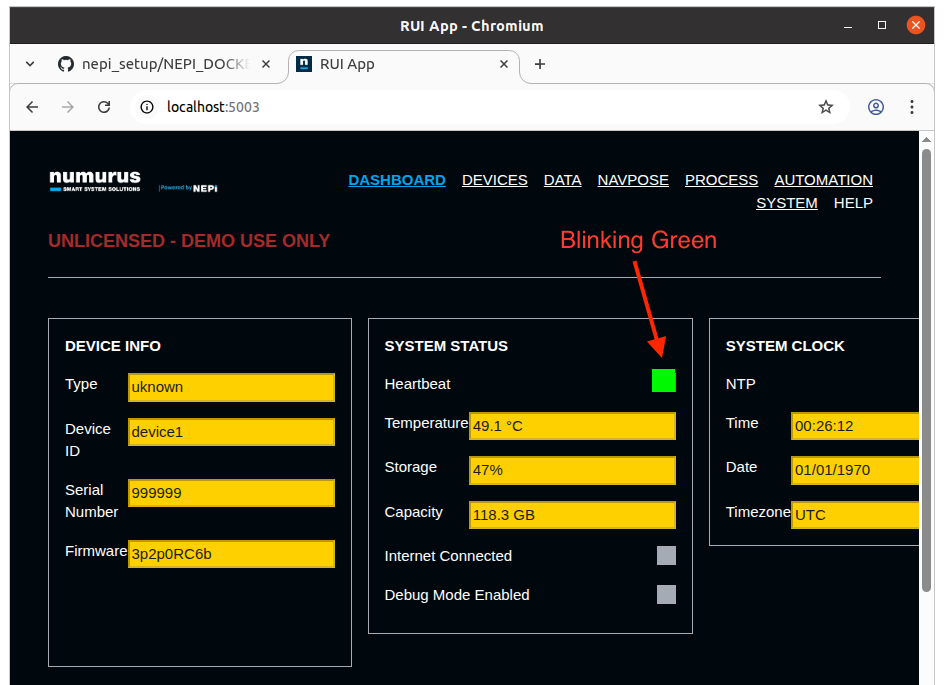
3) Open the Chromium browser. Check that the NEPI Resident User Interface (RUI) is running by opening a Chromium browser tab and entering the following in the URL search bar:
localhost:50034) Confirm that the NEPI RUI dashboard loads and shows a blinking green indicator, signaling that the core NEPI software system is running and that NEPI is active.
NEPI Docker Service Setup
This step enables NEPI to automatically start whenever the system boots, so you don't have to manually start it each time.
1) Enable NEPI Docker service:
nepienable
2) POWER CYCLE your system when complete.
3) Log back into nepihost (sudo password is 'nepi').
4) Verify that your NEPI Container is running after reboot:
dpsNEPI Docker IP Configuration
If you want to connect to your NEPI device from a network connected PC, set up and test a remote connection following these instructions.
Additional Resources
If this is your first time setting up NEPI Docker, it is highly recommended that you read through the "NEPI Docker Installation Notes" section on the official GitHub setup guide: NEPI Docker Host Setup Instructions on GitHub.
If you encounter any issues starting and running the NEPI Software container, see the debugging steps in the "NEPI Docker Debugging" section at the bottom of this page: NEPI Docker Lite Setup on GitHub.
For additional support, visit the NEPI Software Community Forum at NEPI Community.
Debugging Troubleshooting
If your container is not running, try to debug NEPI Docker Service issues with the following commands:
nepirestart
nepistatus
nepilogsFor detailed debugging instructions, logs, and advanced troubleshooting steps, refer to the official GitHub setup guide: NEPI Docker Host Setup Instructions on GitHub.
NEPI Software Shortcut Functions
View all NEPI Docker command-line shortcuts anytime by typing:
nepihelpNEPI Docker Local PC Connections
In this step, you will configure your NEPI device's IP address to allow local PCs to find and communicate with the device.
1) Open the Settings app and navigate to the Network Settings page. You can also click the "Show Applications" button at the bottom-left corner of your screen, search for the "Settings" application, and launch it from there.
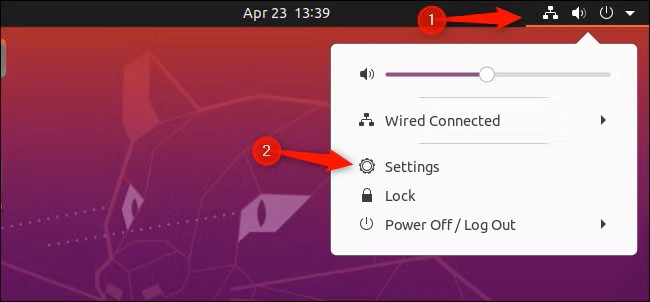
2) Select your Wired connection. Click the gear icon to edit the connection.
3) Go to the IPv4 tab and set IPv4 Method to Manual.
4) Add an address with the following values:
- Address: 192.168.179.103
- Netmask: 255.255.255.0
5) Click Add or Save, then close the settings window.
6) Reboot your NEPI device.
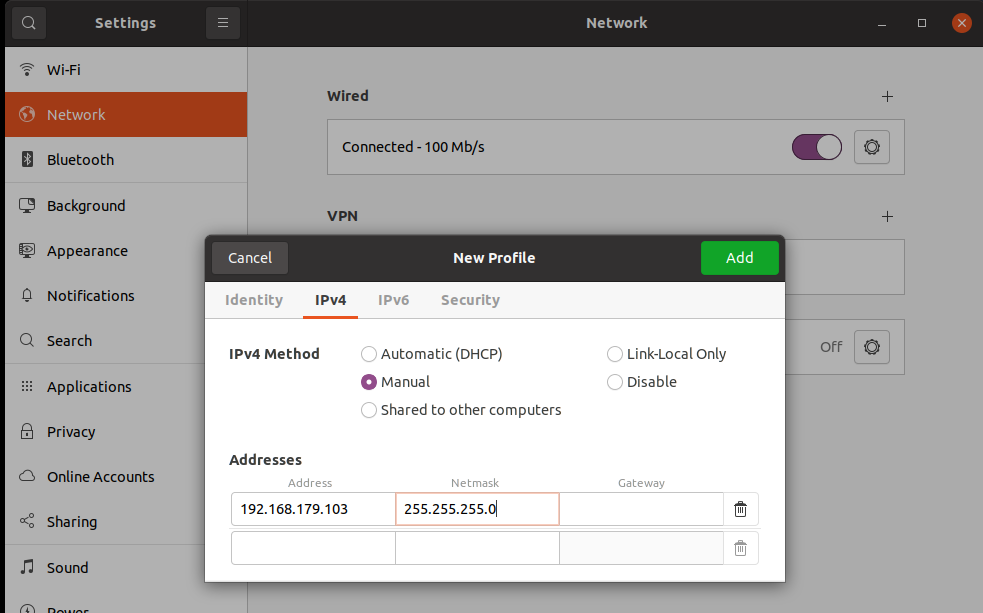
Your device is now configured with a static IP address and ready for the next step.
NEPI Docker Camera and AI Detection Test
If you want to connect a camera and run an AI model on the camera's video stream, follow the instructions in the 'Using NEPI' tutorial available in the Tutorials section.