
Virtual Linux Environment Setup
NEPI development tools run in Ubuntu Linux. Choose the tab for your computer's operating system and follow the steps to create an Ubuntu 20.04 virtual machine:
- Windows - uses Windows Subsystem for Linux (WSL2).
- Mac - uses UTM on Apple Silicon (M-series) Macs.
Introduction
This tutorial covers installing Ubuntu under Windows Subsystem for Linux (WSL2) and configuring it as a NEPI Remote Dev system. It also covers common first-run issues and their fixes.
Installing WSL and the Ubuntu VM
This section installs WSL2 and an Ubuntu 20.04 virtual machine on your Windows PC.
1) Open a PowerShell terminal with admin privileges. Enter 'powershell' in the Windows search bar, then right-click Windows PowerShell and select Run as administrator. This is required - running without admin privileges causes install failures.

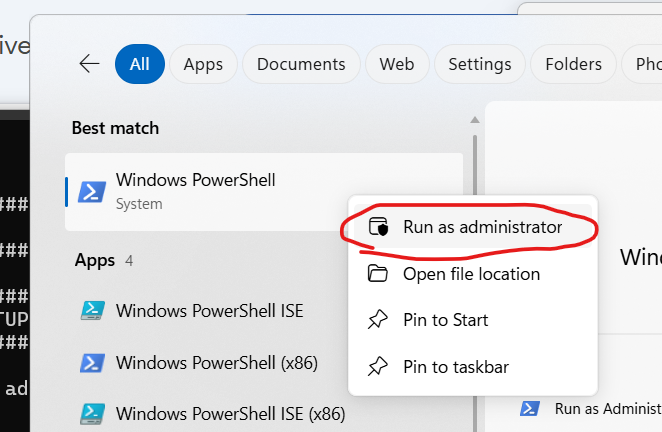
2) Install a specific Ubuntu version by entering the command below. Ubuntu 20.04 is used here for compatibility with NEPI's build environment. Swap the version string if needed:
wsl --install -d Ubuntu-20.043) Reboot Windows - changes to these features do not take effect until restart. Then re-run the install command:
wsl --install -d Ubuntu-20.044) Once installed, Ubuntu launches automatically and provisions the instance. When prompted, create the default Unix user account with the following values:
Create a default Unix user account: nepi_dev
New password: nepi
Retype new password: nepi5) You are now working in an Ubuntu virtual environment terminal.
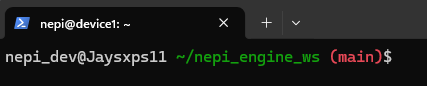
6) You can access your user and other Linux folders in File Explorer under the new Linux sidebar tab.
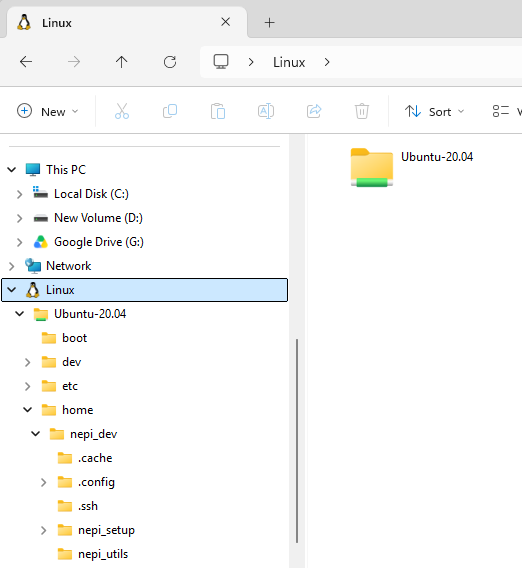
Logging in to Your WSL Ubuntu VM
This section covers reopening your Ubuntu VM after a Windows restart, or opening additional terminals.
1) Open a PowerShell terminal in Windows and select your Ubuntu VM from the dropdown menu.
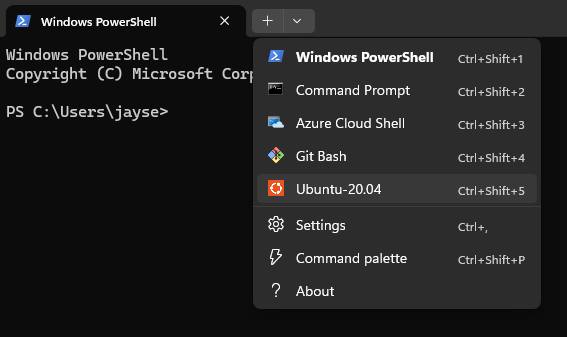
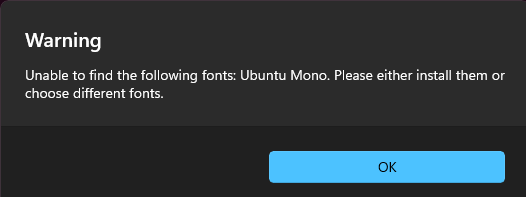
2) You are now in your Ubuntu VM terminal.
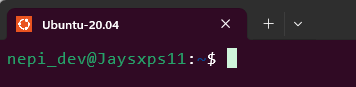
NEPI Remote Connection Setup
This section covers configuring your WSL Ubuntu VM environment to connect to a remote NEPI device over a wired Ethernet connection or a NEPI WiFi hotspot connection.
1) Connect your Windows PC to your NEPI device:
- For NEPI WiFi hotspot setup, follow the instructions at: Hotspot Setup
- For wired Ethernet Windows adapter setup, follow the instructions at: Connecting to the User Interface
2) To configure your WSL Ubuntu environment for NEPI remote device connection, follow the instructions at: Remote System Setup
sudo /snap/bin/chromium --no-sandbox 2> /dev/nullsource ~/.bashrcIntroduction
These instructions describe how to create and install an Ubuntu 20.04 virtual machine on an Apple Mac computer using UTM.
Requirements:
- Apple Silicon Mac (M-series)
- UTM installed: https://mac.getutm.app/
- Ubuntu 20.04 ARM64 Server ISO (
ubuntu-20.04-live-server-arm64.iso): https://old-releases.ubuntu.com/releases/focal/ - At least 100 GB of free storage recommended
Create the Virtual Machine
This section creates a new Ubuntu virtual machine in UTM.
1) Open UTM and select Create a New Virtual Machine.
2) Choose Virtualize / Linux.
3) Allocate memory and 6 CPU cores.
4) Leave Use Apple Virtualization unchecked (use QEMU).
5) Select Boot from ISO image and browse to ubuntu-20.04-live-server-arm64.iso.
6) Assign 64 GB of storage.
7) Skip Shared Directory.
8) Review the summary and save the VM.
Install Ubuntu
This section installs Ubuntu Server on the new virtual machine.
1) Boot the VM and choose Install Ubuntu Server.
2) Continue without updating the installer.
3) Accept the default DHCP network configuration.
4) Leave Proxy blank.
5) Accept the default Ubuntu archive mirror.
6) Choose Use entire disk (no LVM).
7) Accept the partition layout and continue.
8) Create your username and password.
9) Enable Install OpenSSH Server.
10) Leave Featured Server Snaps unchecked.
11) Wait for the installation to complete, then reboot.
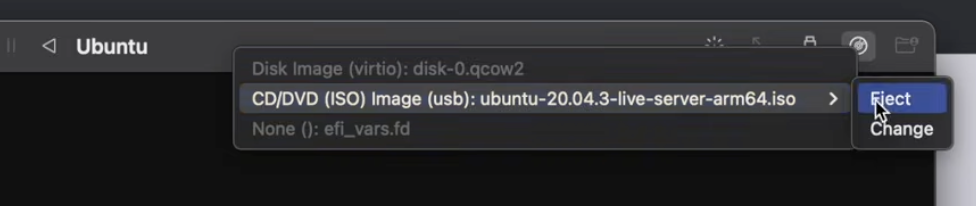
12) Eject the ISO and restart the VM.
Installing the Graphical Interface
This section adds the Ubuntu desktop to your text-based Ubuntu Server install.
1) Log in to the text-based version of Ubuntu.
2) Install tasksel:
sudo apt install tasksel3) Enter your password when prompted.
4) Press 'y' to approve the additional download.
5) Install the Ubuntu desktop:
sudo tasksel install ubuntu-desktop6) Wait for the install to finish.
Next Step
Your Ubuntu virtual machine is ready. Continue to Remote System Setup to configure it for NEPI development.